A Guide for Beginners to Dye Your Hair at Home
Changing your hair color at home can be a satisfying and budget-friendly way to refresh your look. However, to get the beautiful results you desire and prevent any harm to your hair, it’s important to follow a few steps. This guide will provide you with the basics to get you started on your home hair dyeing journey!

Preparation is Key:
• Choose the right dye: Consider your current hair color, desired color, and hair health. Permanent dyes will drastically change your color, while semi-permanent add temporary color or enhance your existing shade. If you’re unsure, consult a professional for advice.
• Gather your supplies: You’ll typically need gloves, petroleum jelly, a mixing bowl, an applicator brush (often included in the dye kit), towels you don’t mind staining, a hair coloring gown, and most importantly, the hair dye itself.

The Dyeing Process:
• Read the instructions carefully: Don’t skip the instructions of hair dye! Each formula is unique, and achieving the perfect shade depends on following the specific steps provided by the manufacturer. Take your time to thoroughly read and understand each instruction before you start mixing and applying. This might seem tedious, but it’ll save you from potential problems and ensure you get the gorgeous hair color you’re aiming for.
• Protect your skin: Before you get down to business with the dye, create a protective barrier around your hairline and ears. Apply a thin layer of petroleum jelly to these areas using your fingers or a cotton swab. This will act like a shield, preventing the dye from staining your skin. When the dyeing fun is over, the petroleum jelly will also wipe away easily, making cleanup a breeze.
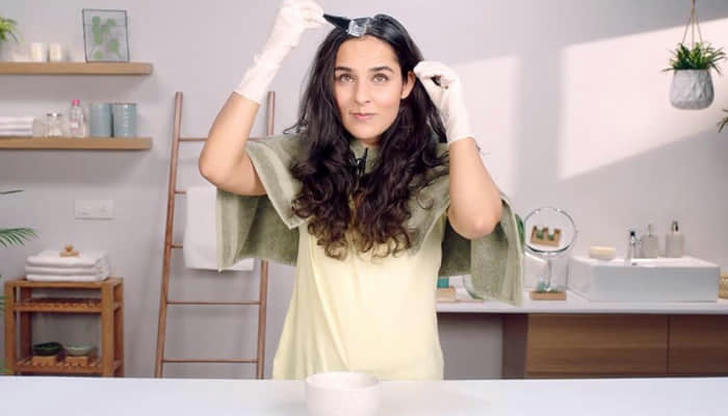
• Section your hair: Imagine you’re about to conquer a mountain of laundry, one piece at a time. Hair coloring is similar! Clip up most of your hair with hair clips, leaving only a small, manageable section loose. This will make the dyeing process much easier to control. Once you’ve applied dye to that section, secure it back up and move on to the next manageable chunk. Work your way through your entire head section by section until all your hair is coated in dye.

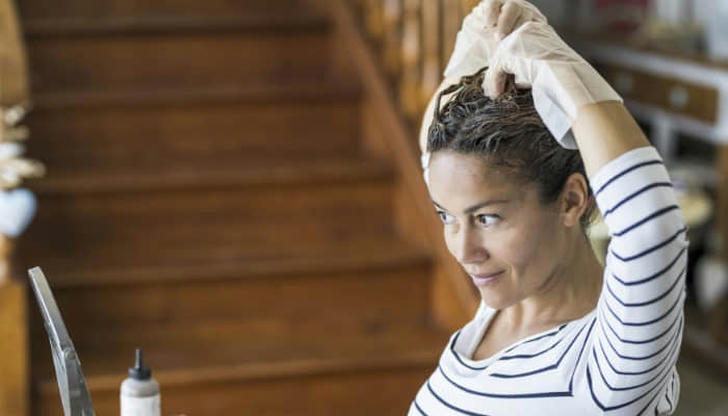
• Apply the dye: How you approach this depends on the specific instructions for your chosen dye. Some dyes recommend starting at the roots, where your hair is naturally lighter and the color will take faster. Others might suggest starting at the ends, especially if you have darker hair that needs more processing time. Whichever way the instructions guide you, be meticulous! Work in small sections and completely coat each strand of hair with the dye. Don’t be hurry–take your time and ensure even application to avoid patchy results.
• Processing time: Once you’ve carefully applied the dye to all your hair, set a timer for the exact amount of time listed in the instructions. This processing time is crucial for the dye to develop fully and deposit the desired color. It might be tempting to rinse early, but be patient! Rinsing too soon can prevent the dye from reaching its full potential, leaving you with a dull or uneven color.
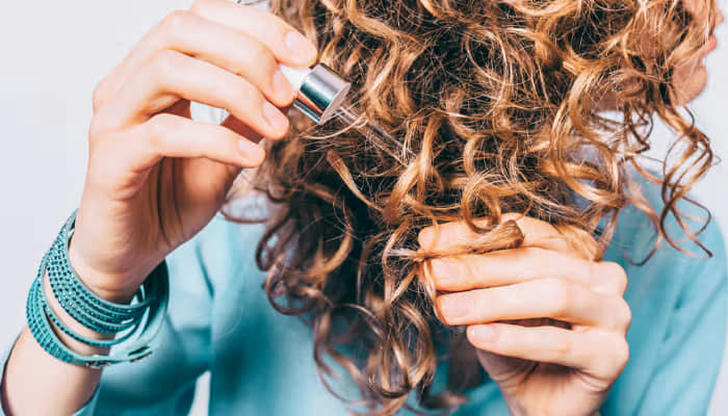
Post-dye care: After the processing time is complete, thoroughly rinse your hair with cool water. Keep rinsing until the water runs clear–this removes any leftover dye residue. Use the conditioner that typically comes with the dye kit, as it’s formulated to help lock in the color and replenish moisture lost during the dyeing process. To further allow the color to set and prevent fading, avoid shampooing your hair for a few days after dyeing.

Some Additional Tips:
• Do a Strand Test: Before committing to coloring your whole head, take a small section of hair from underneath or behind your ear (somewhere inconspicuous). Apply a tiny amount of the dye to this hidden strand and let it process according to the instructions. This will give you a preview of the final color of your hair and allow you to see if you have any allergic reactions to the dye. If your scalp gets itchy or irritated, or the strand turns a completely unexpected color, it’s best to avoid using that dye on your entire head.
• Start Lighter if Unsure: If you’re worried about your hair ending up too dark, it’s always safer to choose a shade that’s a bit lighter than your desired color. Remember, you can always apply another round of dye later to go darker if needed. However, lightening hair that’s been dyed too dark can be tricky and damaging, so it’s better to err on the side of caution.
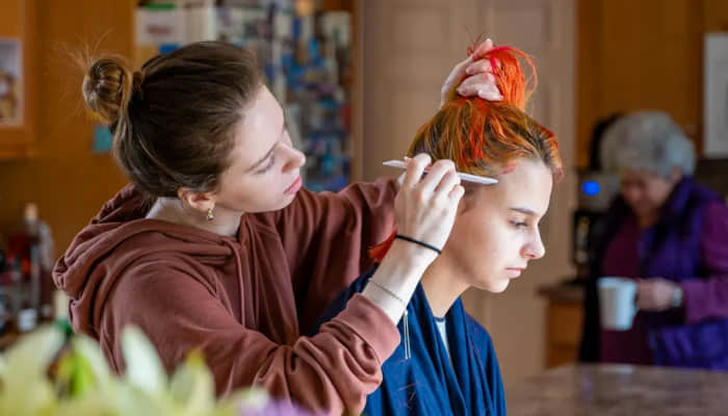
• Enlist a Friend: Having a trusted friend lend a helping hand during the dyeing process can make things a lot smoother, especially when it comes to applying dye to the back of your head. Those back sections can be hard to reach and see on your own, so having another person help ensure even application will prevent you from ending up with a patchy or uneven color. Even if you can see the back of your head, an extra pair of eyes can be helpful to double-check for missed spots.
Remember, if you have complex color goals, damaged hair, or any doubts, it’s always best to consult a professional hairstylist. They can assess your hair health, recommend the right products, and achieve the desired color safely.
